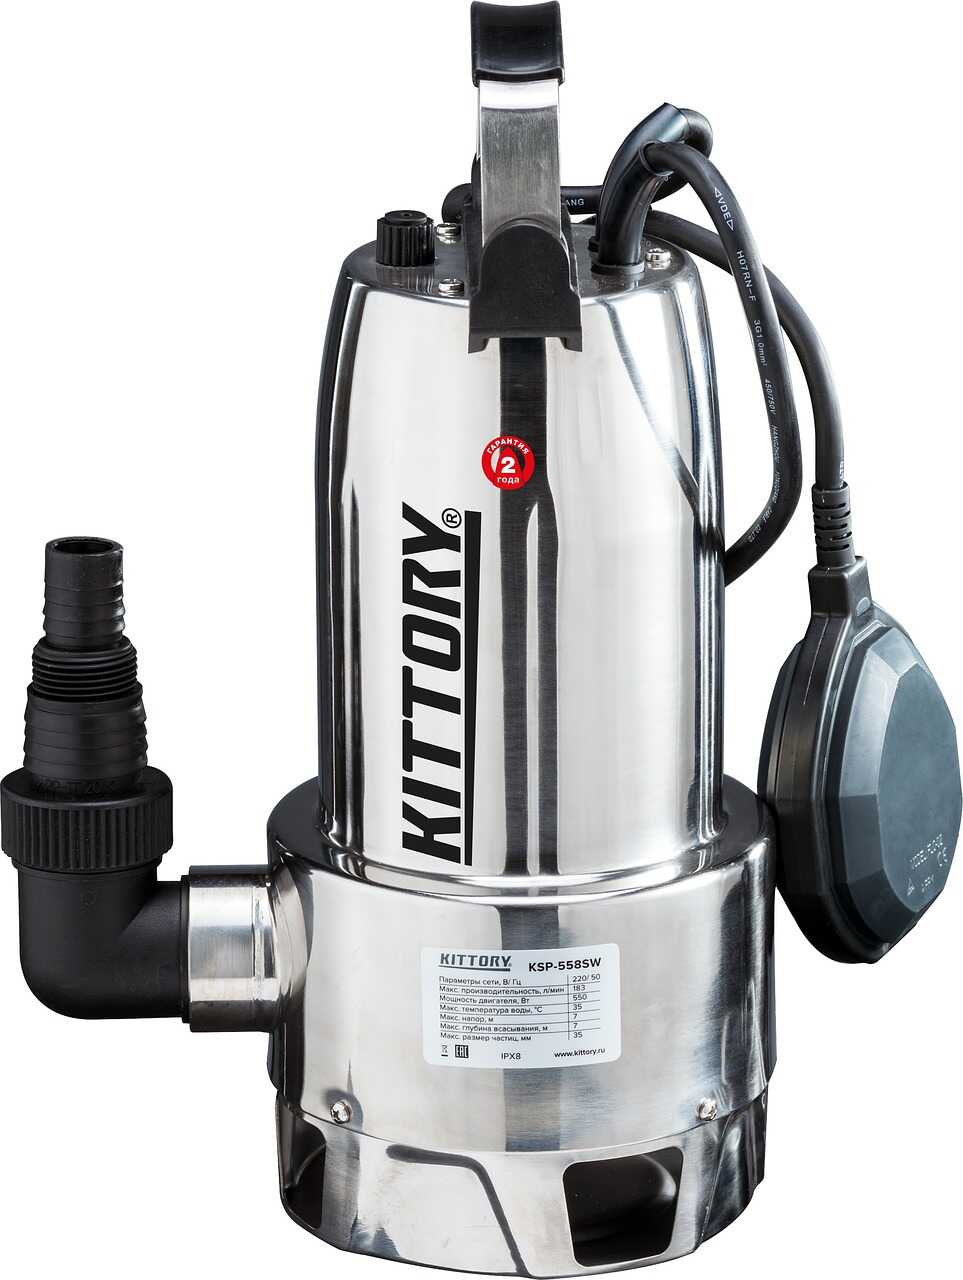
Five Simple Steps for Changing a Submersible Pump
There is a good chance you have a submersible water pump in your basement or crawl space if you own a house. Any water penetrating your basement can be quickly drained out and sent to a safer area (like your lawn) with the help of a submersible water pump. Until it stops working, most homeowners have no idea their house has a sump. Your sump pump may need to be replaced if it suddenly stops functioning.
If you have the knowledge and tools, you can save hundreds of dollars by replacing your sump pump rather than hiring a professional plumber. You can replace your sump pump in as little as 30 minutes if you follow the basic directions in this article, although some danger is involved.
Take some time to think about why the sump pump might need to be replaced before you jump in. Using the following criteria, you can determine whether a sump pump is necessary.
Is The Diaphragm Switch Not Working? Are There Any Obvious Blockages? (This is the most common cause of sump pump failure).
Is the power cut to your sump pump?
Do You See Any Loose Connections?
You may need to get a new one if you answered no to any of the above. When replacing a submersible water pump, finding a model with identical specifications to the one you’re replacing it with is essential. The motor plate of your old pump should have this data.
Before Sump Pump Setup
You should check that you have everything you might need before beginning. Examples of such resources could be:
Tools: Tape Measure, Pipe Wrench, Phillips Head, and Flat Head
Manual Saw
Five ft. of PVC Pipe at the Most
The Proper PVC Joints and Self-Adhering Hose Clamps
Thanks to the check valve, water can be pushed out but can’t flow back in.
There are four distinct styles of sump pumps: the pedestal pump, the submersible pump, the water-powered pump, and the floor-mounted suction pump. Here are the steps for installing a submersible water pump. There are three ports on most submersible sump pumps. The first is the electrical hookup, which requires a three-pronged connector to be placed at least four feet from the floor. The pump motor requires a grounded outlet with an interrupter rated for its amperage. The second connection is a 1/4-inch plastic fitting at the bottom. A back flow check valve must be fitted to stop water from reentering the sump pit after it has been emptied. The third and final connection is the hose or pipe linking the pump to the drain line. If the pipe is reused, check it for pinholes first in case there are any.
The 5 Easiest Ways to Get a New Sump Pump
Turn off the Unseen Pump Determine where the pump must be detached from the drain line. Unclamping or unscrewing the sump pump from the drain pipe is all needed to remove the pump. The check valve can be removed from the discharge pipe by releasing the clamps holding it in place.
Get That Pump Out of That Sump! Remove the check valve and place the pit cover over the discharge pipe. Next, you’ll need to grip the pump’s discharge line that extends from the pit and pull it out of the hole. Leave it alone for a while to let the water drain out. Inspect the area where the pump is linked to the drain line and the water outlet aperture to ensure there are no pipes or fittings in the way. If there is, disconnect it now and save it from reattaching to the replacement pump. It may be necessary to see through a solid discharge pump before you can remove it. Rubber pipe joiners can be used to repair the joint later.
To find a replacement pump that will work with your existing power source, drain-line hookups, and plumbing, you should bring the old pump while shopping for a new one.
A New Sump Pump Must Be Installed. Clean the muck from the sump pit with a wet vacuum and check it for cracks or other damage. The new pump can be installed if everything checks OK. Remove the wires and floats from the new water pump’s packing. If you replace the pipe, you will need to measure, mark, and cut a new section of PVC to the exact dimensions so that the new pump can reach up and firmly connect the check valve. Reposition the pump so the new PVC pipe entering the check valve is directly beneath it. Ensure your pump’s float switch can move around freely in the sump basin.
Put That New Sump Pump to the Test! After the pump has been set up, it may be put through its paces by filling the pit with water and putting it into an electrical socket. When the float reaches the desired height, or immediately if a diaphragm switch is used, the pump will activate. If your pump is installed correctly, the water in the pit will drain quickly.
Congratulations! You have avoided spending a considerable sum of money. You can consult the user guide or seek assistance from employees at your local hardware store if you get stuck at any point during removal or installation.
Copywriter Angela Chavez works for Buy Plumbing. If you’re looking for the best deals on plumbing supplies online, look no further than BuyPlumbing.net. Visit Angela’s blog on pump reviews to learn more about the many sump pumps on the market.
Read also: What Should I Look For In A Washing Machine?


