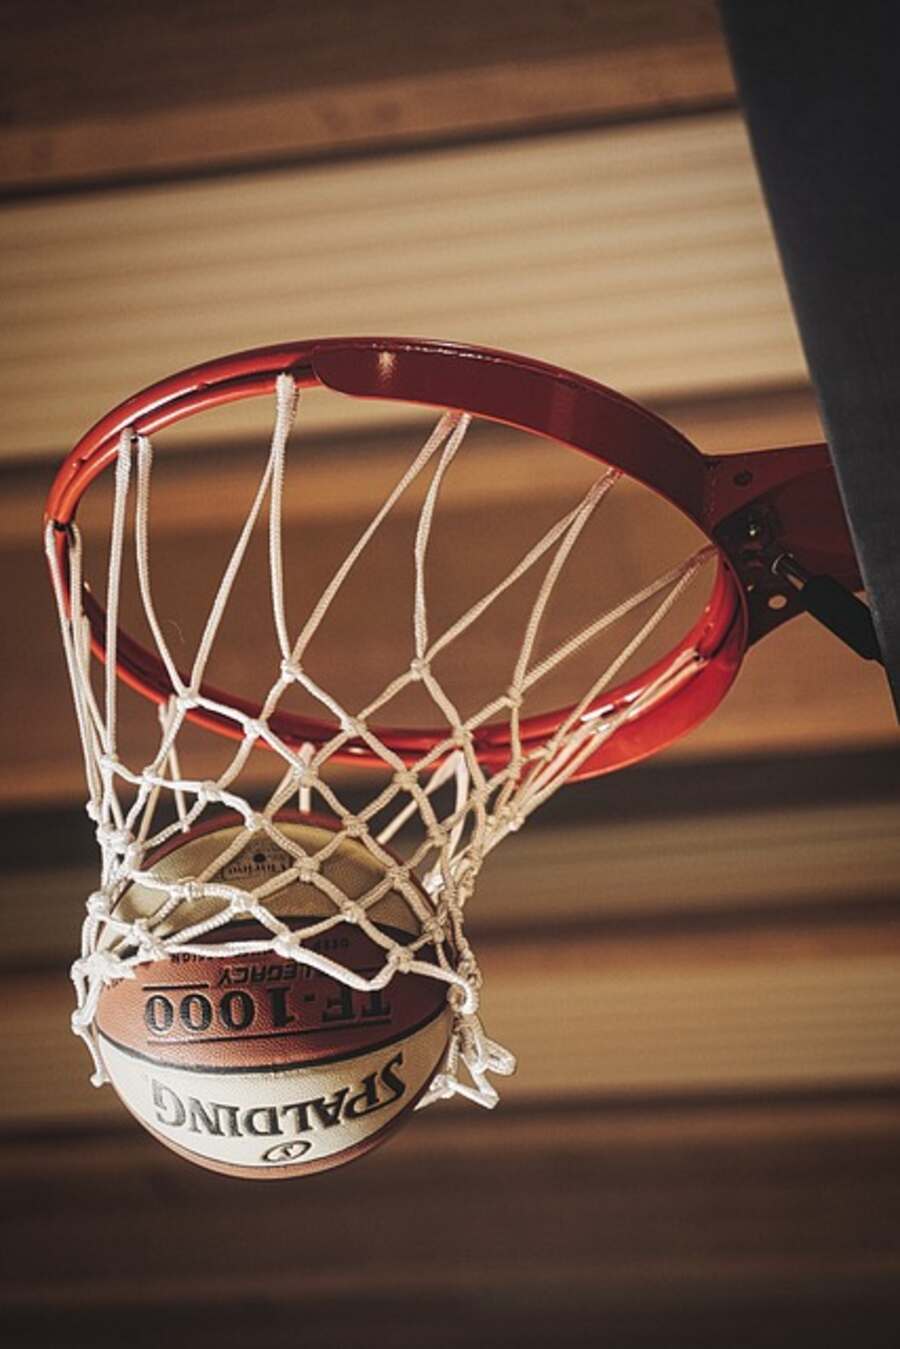
Comparison of Anchor Kits for Goalsetter Basketball Systems
Like many commercial and institutional basketball hoops, Goalsetter hoops are hefty and might be challenging to assemble.
You should always read and follow the installation instructions that came with your unit, and you should never use this article as a replacement for asking the company that sold you the unit or Goalsetter Basketball Systems specific questions about the installation or maintenance of your unit.
Because of the quality and durability of Goalsetter Basketball Systems, meticulous preparation is required before installation. In particular, you should consider the backboard overhang of the system you’re buying, the dimensions of your court, whether or not you want a 3-point line, and whether or not you want a full half-court. To build up a full half-court at the high school level, for instance, you would need a 42 feet long and 50 feet-broad space if you purchase one of these systems. The most extensive system, the Signature Series MVP, requires an additional 18″ or more clearance to install the pole into the ground properly. Half-court dimensions must be 47 by 50 feet to align with professional and collegiate standards.
Who will be available to help with the setup and what equipment will be needed are also important factors to consider. Due to the system’s weight and intricacy, a single individual should not attempt installation. You’ll need at least two able-bodied persons, and ideally more like three or more. Complex equipment, like a scaffold, may not be required because the entire system can be assembled before the unit is lifted into its ultimate resting position. However, a ladder may be required, depending on where you plan to install the unit and how many people will be helping you. A hammer, wrench, socket wrench, and screwdriver, among other essential equipment, will be all required for further tasks.
Anchor Kit for Goalsetter Basketball Hoops vs. J-Bolt Mechanism for Mammoth Basketball Hoops.
Before our current talk, I had asked the Goalsetter salesman how their anchor mechanism differed from the Mammoth method. I was told that much of the variance comes from how the unit is set up on the plate and how the cement is poured for the base. Four J-bolts are embedded deeply into the concrete for the Mammoth anchor kit. After the mounting is flush with the ground, the bolts extend through it, and the basketball system is attached. The pole of the Goalsetter anchor extends into the concrete and connects to a plate that sits flat on the ground. The main distinction occurs when attaching either system to the mounting plate. To install the Mammoth Basketball Hoop, the hoop must be lifted into the air, lined up with the J-bolts on the mounting plate, and then dropped into place. This design typically necessitates a more extensive installation crew and the use of a scaffold to drop the device into place safely.
In contrast, the Goalsetter makes use of a hinge mechanism that is attached to the base plate. During construction, the system is suspended at a 45-degree angle off of that hinge, and the unit is then put together. After the system has been assembled, it can be easily installed by pushing it into position and bolting it to the mounting plate. This typically calls for less manpower and less sophisticated tools.
Hopefully, you may use this information to make more informed purchasing and setup decisions. To all those who are playing, enjoy yourselves!
Goalsetter Basketball Systems and Mammoth Basketball Hoops can be purchased through Competitive Edge Products, Inc. We strive to provide you with as much relevant data as possible so that you may make educated purchasing decisions. Check out how well we know these and other things we sell by visiting us. If you have any questions we can’t answer, we’ll gladly guide you to the proper spot. We also sell basketball hoops and equipment from Lifetime.
Read also: Everything You Need To Know About Dedicated Proxy Servers And How They Can Help Your Business


