

The placement of the alarm control must be determined before the layout of the alarm system can begin. If your basement is unfinished, you must drill into the rafters and route the wires to the panel’s location. This is typically the boiler or furnace room.
If you’re wiring a ranch-style home, you’ll have to climb into an unfinished attic and lower your cables to the control room below.
Wires in a commercial setting will typically be routed above dropped ceilings, along beams, or even through the open conduit.
You should consider a wireless system if you don’t have a suitable location to run and conceal the necessary wiring.
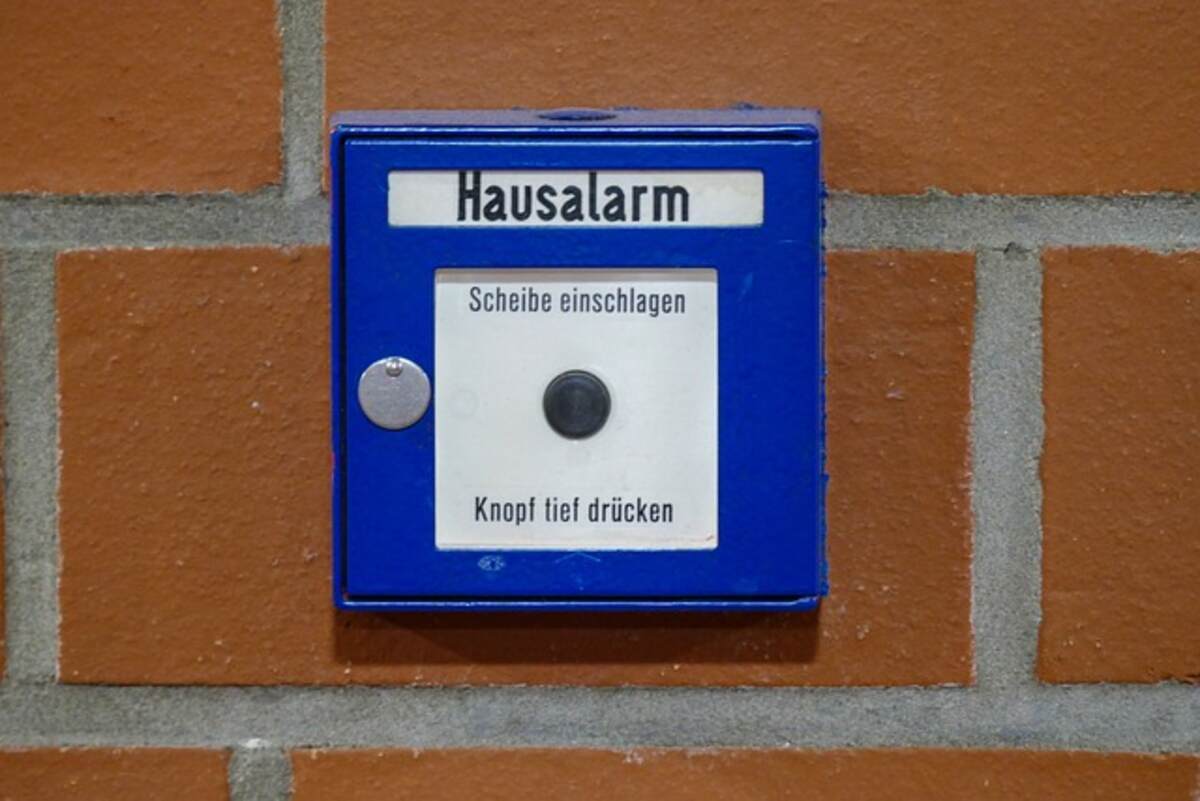
It’s essential to safeguard the alarm control panel with a motion sensor or door contact device, no matter where you install it. If the control panel is left in an unguarded area, a burglar could easily access it. You might try to snake the wires into the basement and then into a secure cupboard. You may think, “But what about the frayed wires down there?” Don’t.” In the same way, unlocking the gadget they’re connected to would trigger an alarm, and so would cutting the cables leading to it.
If you want your chosen system to be wireless, you should install receivers in a central place that gets a good radio signal from all entry and exit points. Remember that there will still be a need to run wires, even for a wireless system. The usual suspects are the keypad, the siren, the power cord, and the phone line. Think about these connections before deciding where to set up shop.
Give the area where you’ll complete the bulk of the installation some light. Spread a tarp and put the materials, equipment, and garbage can in one convenient location. Over the years, I’ve learned to come to my central place to get what I need and to return anything I’m done with here, especially tools. Half of your time on an installation job will be spent looking for something—a tool, a part, a spool of wire—if you don’t keep things neat. Everything from spare drill bits and tape to wire cutters, screwdrivers, B-connects, a trim bubble level, a stud finder, a clean rag, and more can be kept in one convenient location by wearing a tool belt.
You should also tidy up as you go along. You should clean up and bring all rubbish to the bag at your control zone as you complete running each wire and installing the item that will go there. When you’re installing something correctly, it’s beneficial to be analytic.
As you bring each wire into the control room, mark the spot where it enters the hole in the panel and add a foot of wire before snipping it with the diagonal cutters. Wrap the wire in yellow electrical tape, leaving about 5 inches uncovered at the end; label the tape with an indelible marker to indicate its destination.
Pre-wiring for security systems is an option for newly constructed homes and businesses. Having every appliance installed precisely where you want it is made more accessible by pre-wiring. Reading the architect’s blueprints and knowing exactly where cabinets, appliances, and electrical devices will be put before construction is complete is essential. Use your drill bits to make holes in the studs and rafters if you pre-wire. Many a careless alarm technician has thought he or she could get away with simply running through the holes left by the electricians and plumbers. The problem is that relocating wire and pipe to meet the inspector’s standards requires pulling them out if an electrician or plumber fails inspection. They will probably not be thinking about your wire at all.
After the electricians leave and before the insulators come is the ideal time to run your wires for a pre-wire.
Let’s begin wiring the entrance if you’re ready to get started. Working low on the side of the opening door is a need if you’re going into the basement. The top of the door is where you’ll be working if you need to run wiring up there. Let’s use it as an illustration. Which method of communication will you be employing? How about a flush or surface mount? Why not install recessed contacts to hide the wires when the door is closed if you have to run them anyway? Prepare your drill by installing a standard-length 3/8-inch drill bit.
Start drilling at an angle toward the basement about four inches up into the door jam. Once you’ve drilled down about 12 to 18 inches with the 3/8-inch bit, swap to the bell hangers bit, which is 5 feet long, and keep going until you reach the basement. Remove the long bit from the hole by pulling it out. Insert the long, thin end of the bit into the opening.
Gather some tools and supplies before venturing into the cellar. You’ll need a flashlight, diagonal wire cutters, tape, a marker, staples, and a gun. Remove roughly 2 inches of plastic covering from the wire’s end. Connect the two wires with a twist, then feed them through the opening at the long piece’s narrow end. Get back in the elevator and bring the cable down to the opening. After the wire is in place, secure it to prevent it from falling back into the hole by tying a large, temporary knot. Upstairs, use a minimum of 12 inches to work with the wire.
Resuming work below, you must now roll out enough cable to reach your control panel. From the drop hole to the control panel, neatly and orderly staple the wires along the beams using an industrial stapler, such as a T22. Take care not to pierce the wire with each staple; if you do, pull it out and try again. It’s tough to track down these errors once you’ve left the scene. Leave at least a foot of wire hanging from the spool once you’ve reached the point on the wall stud where you’ll poke into the rear of your control panel (at approximately chest height). Use the tape and marker to mark your wire a few inches from its end.
Congratulations! You completed the first of several planned runs. Remember to round up everything you used and return it to the first staging area.
Get a magnet and contact with a 3/8-inch recess. You will also need electrical tape, a wire cutter, and a drill (unless you have a cordless drill). Cut the wire in half and remove a tiny bit of plastic from each end. If your contact doesn’t have little screws to clamp the wires under, repeat the process with them. Connect each end of your wire to the corresponding end of the contact wire with a twist and tape them securely in place. When you’re finished, you can secure everything with a few turns of tape. (There is no positive or negative side to this circuit wire. Therefore, it doesn’t matter which wire goes where.) Gently insert the wire and contact into the hole. Make a mark on the door where the magnet will contact the contact when shut. A hole should be drilled about 3/8″ deep to secure the door. Do this for each desired door. Every outer door should be contacted as a standard procedure.
The Experts Know! Alarms has a website where you can find more device wiring instructions.
Keep an Eye Out! as we frequently add Do-It-Yourself guides for setting up various devices.
[email protected], Matthew Francis
Matthew has been working as an alarm technician for 22 years. He has worked for one of the leading security dealers in the world in a variety of capacities, including as an installation, a salesman, a licensed alarm company owner, a designer of monitoring stations, and a director of promotions and marketing. Now he advises people on how to get systems for cheap or free (without being scammed) in his role as a consumer advocate. He always promises to act impartially.
Read also: High-End Blenders: What’s The Big Offer?